
A Journey Through The Hobbit
A Journey Through The Hobbit
On the fence about purchasing the block guide? Here's a sample lesson!
If you follow me on social media, you may alredy know that for the month of December everything in my shop is 33% off. Just use the code “wonderland” at checkout! It’s my biggest sale ever! I’m trying to wrap up my next block guide (it’s so cool) while the sale is still on, plus some smaller goodies. But in the meantime, I thought folks deserved a peak into what you’ll get in A Journey Through the Hobbit.
What follows is a look at two lessons from the third week of A Journey Through The Hobbit. The block includes so much more, four full lessons per week, ideas for extending it to five lessons if you choose, guidance on art and supplies, and several full step by step art instructions. If you like what you see, remember, it’s 33% off this month, making it only around twenty bucks. I think literature blocks are the perfect way to ease back into school in January if you take a break in December like we do, so now’s a great time to try it out.
Week Three - Day One
1. Warm Up
2. Review:
Main Lesson Book based: Part of the beauty of the main lesson book system is how it encourages review. Pull out the book/s, get comfortable, and look over all of last week’s work together. Wow, they did a lot! What are their favorite parts? Usually this will get kids talking about the story. It’s a nice way to come back to it after a few days off.
You can also do this type of review at any time the child/ren are so inclined. If you get the opportunity, it works even better if someone who isn’t typically around for lessons is present, like a co-parent or partner, grandparent, or family friend. Kids usually then get very excited about telling the story the same way they want to share every detail of cartoons or movies.
3. Reading: Chapter 11, On The Doorstep
4. Transition Time
5. Lesson Activity: Runic Inscription. Tolkein pulled a lot of inspiration from history, including the use of runes.
There are many books available on runes, as well as quite a lot of information online. At the time of this writing, there is a great resource available from the Tolkein society (https://www.tolkiensociety.org/app/uploads/2016/11/Runes.pdf). It is entirely up to you how deeply you want to dive into runes. The main thing is to know which sounds the runes stand for.
Have the learners write (and possibly decorate) their own runic inscription in their main lesson books. This is an unfamiliar writing system, so expect children to write le
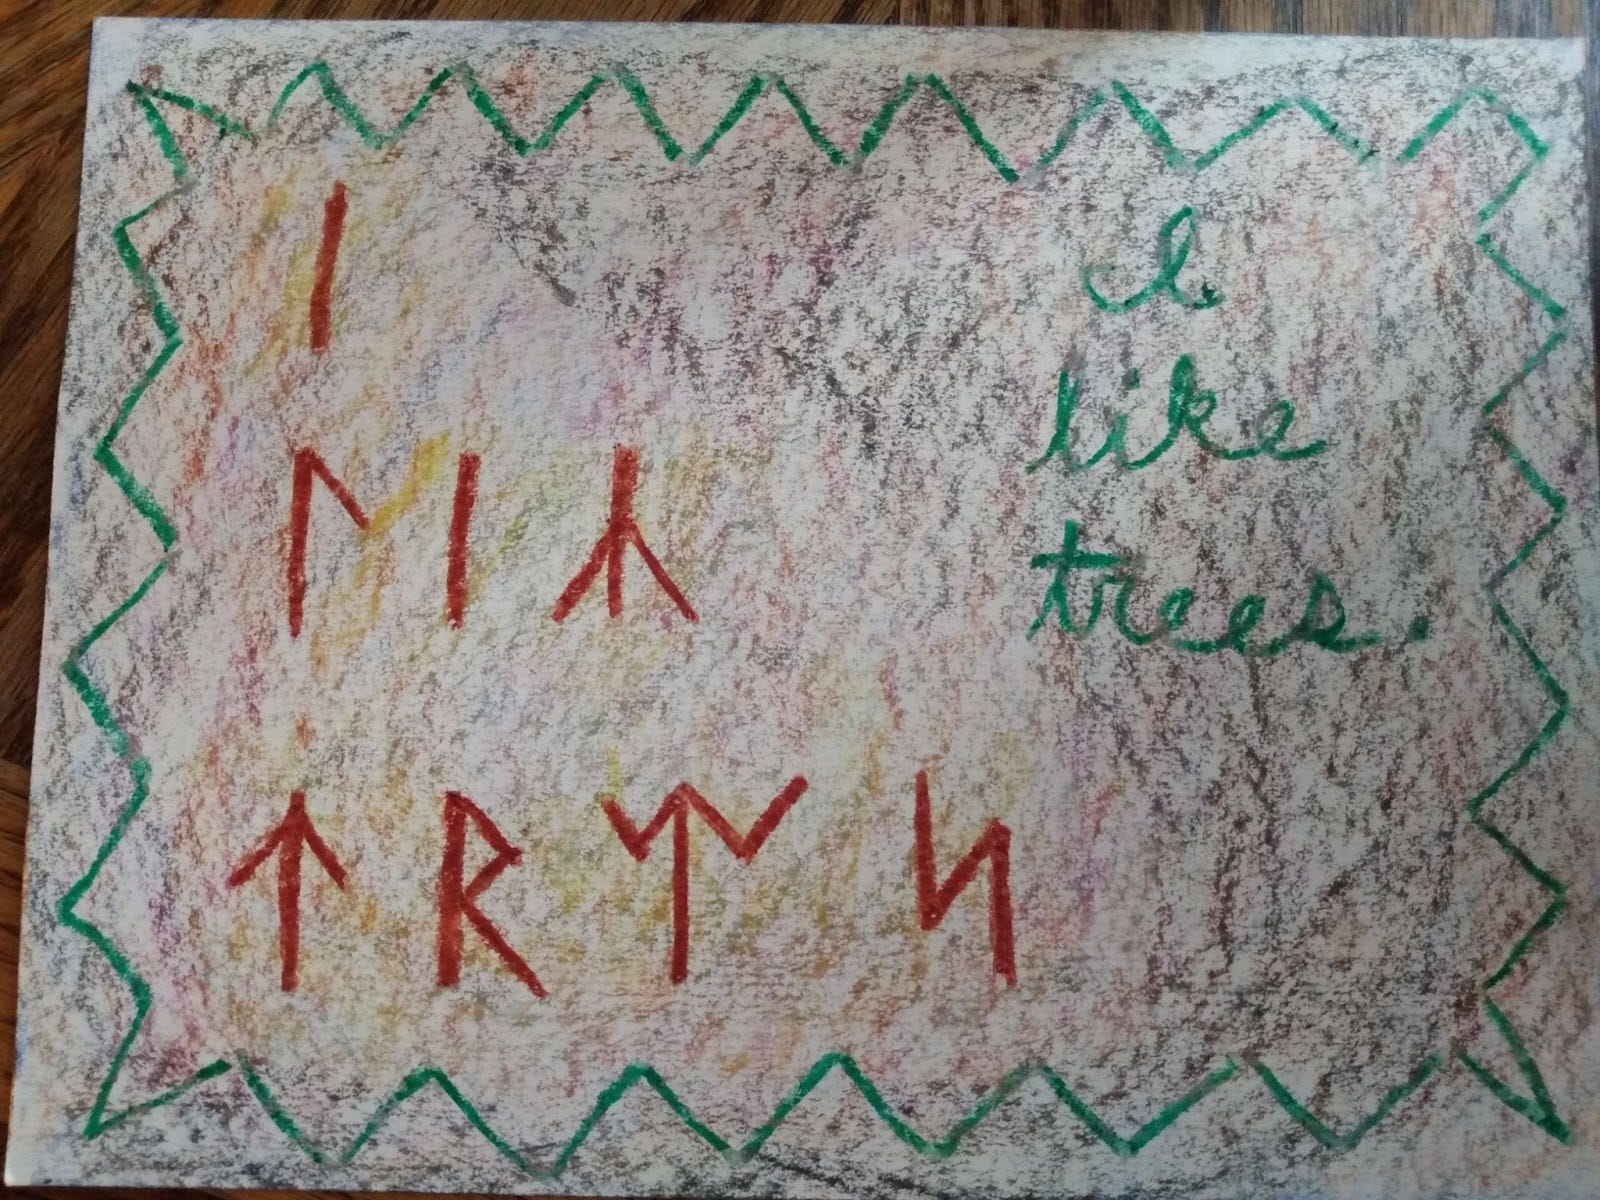
ss in runes than they typically do in standard English. Runes were originally carved into stone or wood. Do they want to lightly color the page to make it look like stone first? Or write their runes on a colored piece of paper and then glue it in? There are a lot of fun options.
Week Three - Day Two
1. Warm Up
2. Review: Use any combination of the review options below, depending on the age and abilities of the child/ren in your care. Afterwards they should have something written on the page opposite the runic inscription. If you have children still learning to write, help them to create a large Ll on the page, for “lonely mountain.”
Discussion based: Briefly discuss what the child/ren remember. Don’t be afraid to jump in and supply some details.
Copywork based: Here are three copywork options.
The Lonely Mountain
It was easier to believe in the Dragon and less easy to believe in Thorin in these wild parts.
He would often borrow Thorin’s map and gaze at it, pondering over the runes and the message of the moon-letters Elrond had read. It was he that made the dwarves begin the dangerous search on the western slopes for the secret door.
Point out any spelling rules, grammar rules, or other things you have recently learned that show up in your passage.
Summary based: Ask the child/ren what they remember about the story, and don’t be afraid to jump in with your own remembered details. Keep this conversation short. Then, ask them to summarize the chapter in their own words. This is a skill that takes time and practice, and that’s fine. Help them along as needed if this is new to them.You can choose to have older children write this down directly, or you can scribe their spoken summary, and have them copy it into the main lesson book in their best hand.
3. Reading: Chapter 12, Inside Information
4. Transition Time
5. Lesson Activity: It’s Smaug day. That’s right, it’s time to draw the dragon! Let your dragons fill up a whole two-page spread in the main lesson books. Remember, Smaug is huge! This is the time to pull out your dragon book if you have one, and/or look up some dragon images online. I like to give a lot of freedom for this one because most kids are pretty excited about it and may have an idea of how they want to do it already. If you want to offer some guidance, just start with the wide side of a red crayon, lay out the general shape, and then go in for the details slowly.


Leave some space to label him tomorrow.
Here’s the link to purchase again, and don’t forget to use code ‘wonderland’ at checkout for 33% off!
My kid is on me to do a block guide for The Lord of the Rings, but I said it would have to be several guides because its so freaking long. What do ya’ll think?